How to create a lambda using the CDK
Just go to AWS CDK Lambda and read the docs. JK.
But in reality, that's what I would suggest, but my goal here to point out a few gotchas and things that you might miss.
You can use a module that is specific to your runtime. As the time of this writing, they have it for:
Since my language of choice is Typescript, I'll use the nodeJS package.
This post will assumes that you are following along with the repo at create-a-lambda-repo.
All I have done in the beginning was to create an empty folder, then run cdk init app --language typescript, and that will scaffold all that I need to start my basic project.
If you don't have installed globally the cdk package, you can prepend the npx command and you should be good to go.
With all that setup ready, we can start.
The first file that you should look at is under the lib folder, create-a-lambda-stack.ts. I won't be explaining what Stacks are, but I'll add to my todo list, but until then, I will use the AWS words.
The unit of deployment in the AWS CDK is called a stack. All AWS resources defined within the scope > of a stack, either directly or indirectly, are provisioned as a single unit.
Because AWS CDK stacks are implemented through AWS CloudFormation stacks, they have the same > limitations as in AWS CloudFormation.
Quick and dirty, if you want a resource to be created, you will need to do it under a stack. Theoretically you can have your whole application under one Stack. Since Stacks are not under the scope of this article, I won't go in too much detail of why that's the stupidest idea you will ever have in your life 😂.
So! back to creating our hello world lambda.
Go to the file create-a-lambda-stack.ts:
import * as cdk from '@aws-cdk/core';

export class CreateALambdaStack extends cdk.Stack {
  constructor(scope: cdk.Construct, id: string, props?: cdk.StackProps) {
    super(scope, id, props);

    // The code that defines your stack goes here
  }
}
That's what we have, if you run cdk deploy.

You will be able to deploy. There is nothing, but we are just starting.
Now what do we want ? To create a lambda, a nodejs lambda.
No next step is to install the @aws-cdk/aws-lambda-nodejs package into our application.
Then we can, import that into our module:
import * as lambda from "@aws-cdk/aws-lambda-nodejs";
and instantiate a new lambda.
new lambda.NodejsFunction(this as any, "helloWorld", {
      functionName: "log-hello-world",
      entry: "log-hello-world",
    });
When we save and run cdk deploy again we should get the following:
throw new Error('Only JavaScript or TypeScript entry files are supported.');
Why ? I have done this snippet wrong on purpose, because as you may know, when importing in a Typescript module, you can omit the .ts and the compiler will do that under the hood, but for this scenario, you have to add the file extension, which in our case is/will be .ts.
new lambda.NodejsFunction(this as any, "helloWorld", {
      functionName: "log-hello-world",
      entry: "lib/log-hello-world.ts",
    });
When using the NodejsFunction, you can organize your lambdas in a way where you don't need to specify the path, so an alternative could be instead to do.
new lambda.NodejsFunction(this as any, "helloWorld", {
      functionName: "log-hello-world"
    });
Omit the entry, then when creating your lambda, you do it under
lib/create-a-lambda-stack.helloWorld.ts.
But if you want to have a different folder structure, then you need to add the entry property.
Bundling
For those of you that don't know, AWS CDK uses under the hood, the amazing esbuild library, that is fast as f* and will bundle the code for you. But you have to tell that through the params
    /**
     * Bundling options.
     *
     * @default - use default bundling options: no minify, no sourcemap, all
     * modules are bundled.
     * @stability stable
     */
    readonly bundling?: BundlingOptions;
    /**
     * Whether to minify files when bundling.
     *
     * @default false
     * @stability stable
     */
    readonly minify?: boolean;
Now when we set the minify property under bundling to true, then our lambda will be skinny skinny 😊.
    new lambda.NodejsFunction(this as any, "helloWorld", {
      functionName: "log-hello-world",
      entry: "lib/log-hello-world.ts",
      bundling: {
        minify: true,
      },
    });
For our example of logging hello world, it doesn't really matter, but in a real world application, where bundle sizes can be # MB, then is really important to skin the unnecessary code.
Deploying our very useful application
Now if you run the cdk deploy again, you will most likely be prompt with a list of the resources that will be created, and a question whether you want or not to deploy.
If you say yes, then you will get either an error, or everything will be successful.
Error: This stack uses assets, so the toolkit stack must be deployed to the environment
This means that you haven't bootstrapped yet, and you will know that you did after you run cdk bootstrap and see in the list of Stack the stack CDKToolKit, so let's do that and see if happening !
first run:
cdk boostrap
then either go to the AWS Management Console and go to Cloudformation and you should see this:

or be a hacker and run:
aws cloudformation describe-stacks
and you should see the list of stack logged and under StackName one that has a CDKToolkit.
🎉 🎉
With that out of the way, and the CDK property bootstrapped, when we run cdk deploy again, it should create/update our Stack, where it will create our lambda, that when triggered, it should log our message Hello World.
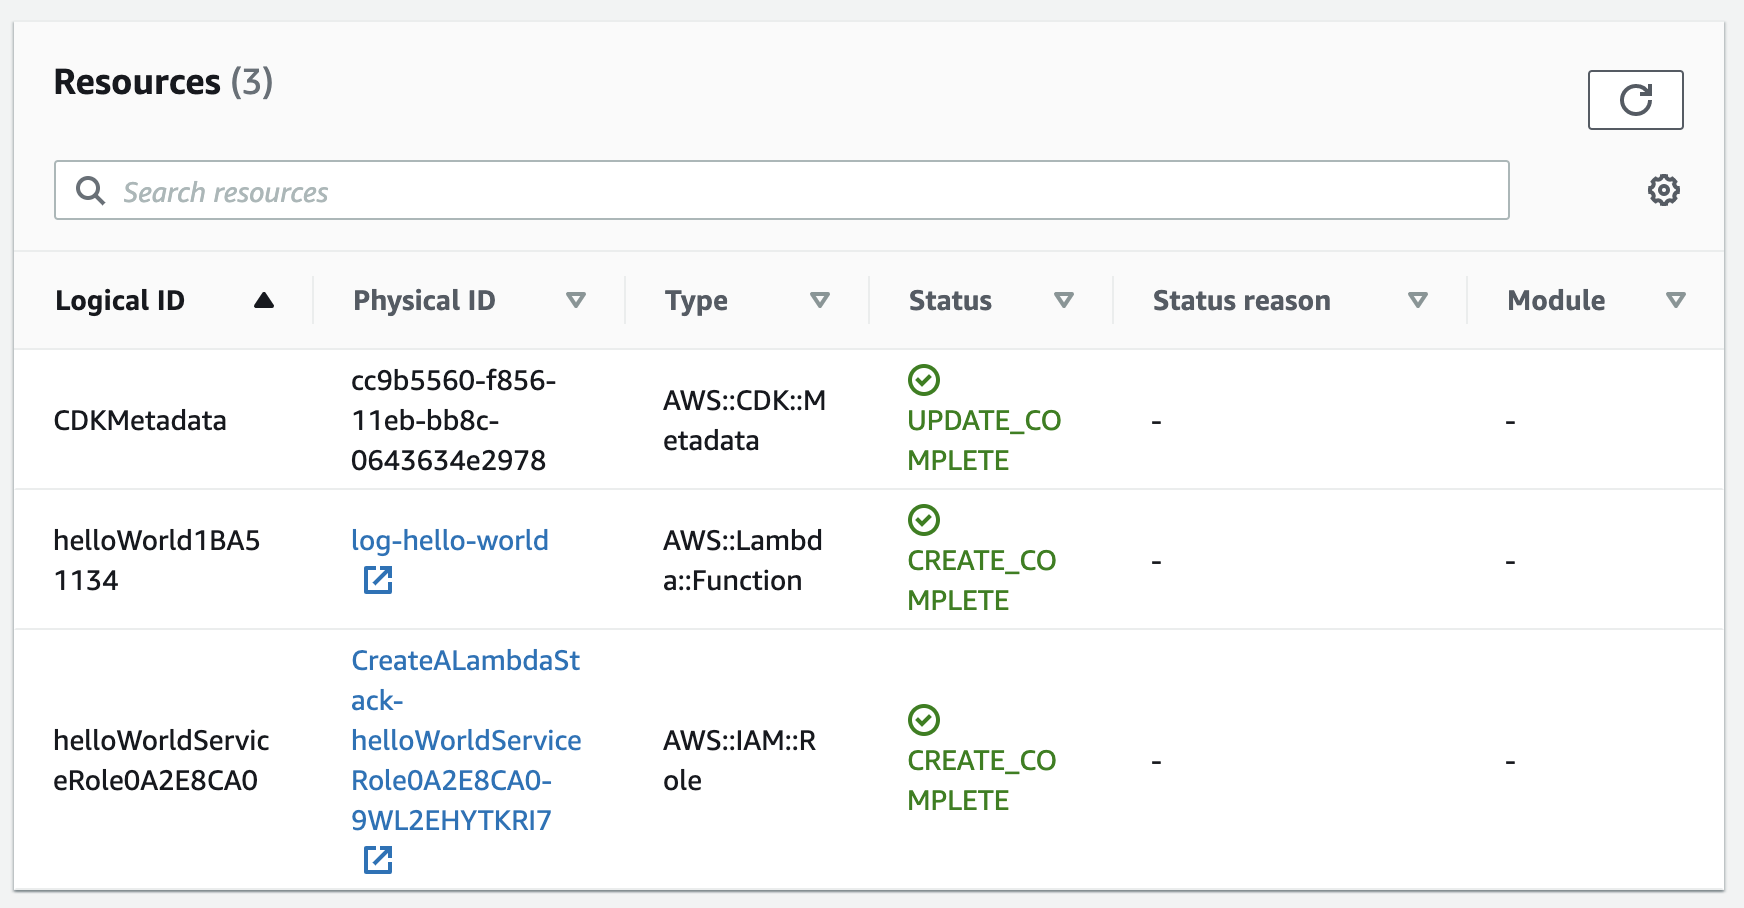
Under the Resources tab we can see our beautiful lambda created. If we go to the AWS Lambda and search for log-hello-world, it should have just this one in the case you have a clean AWS Account, and click on the lambda, it should point you to the lambda page.
Under the test tab
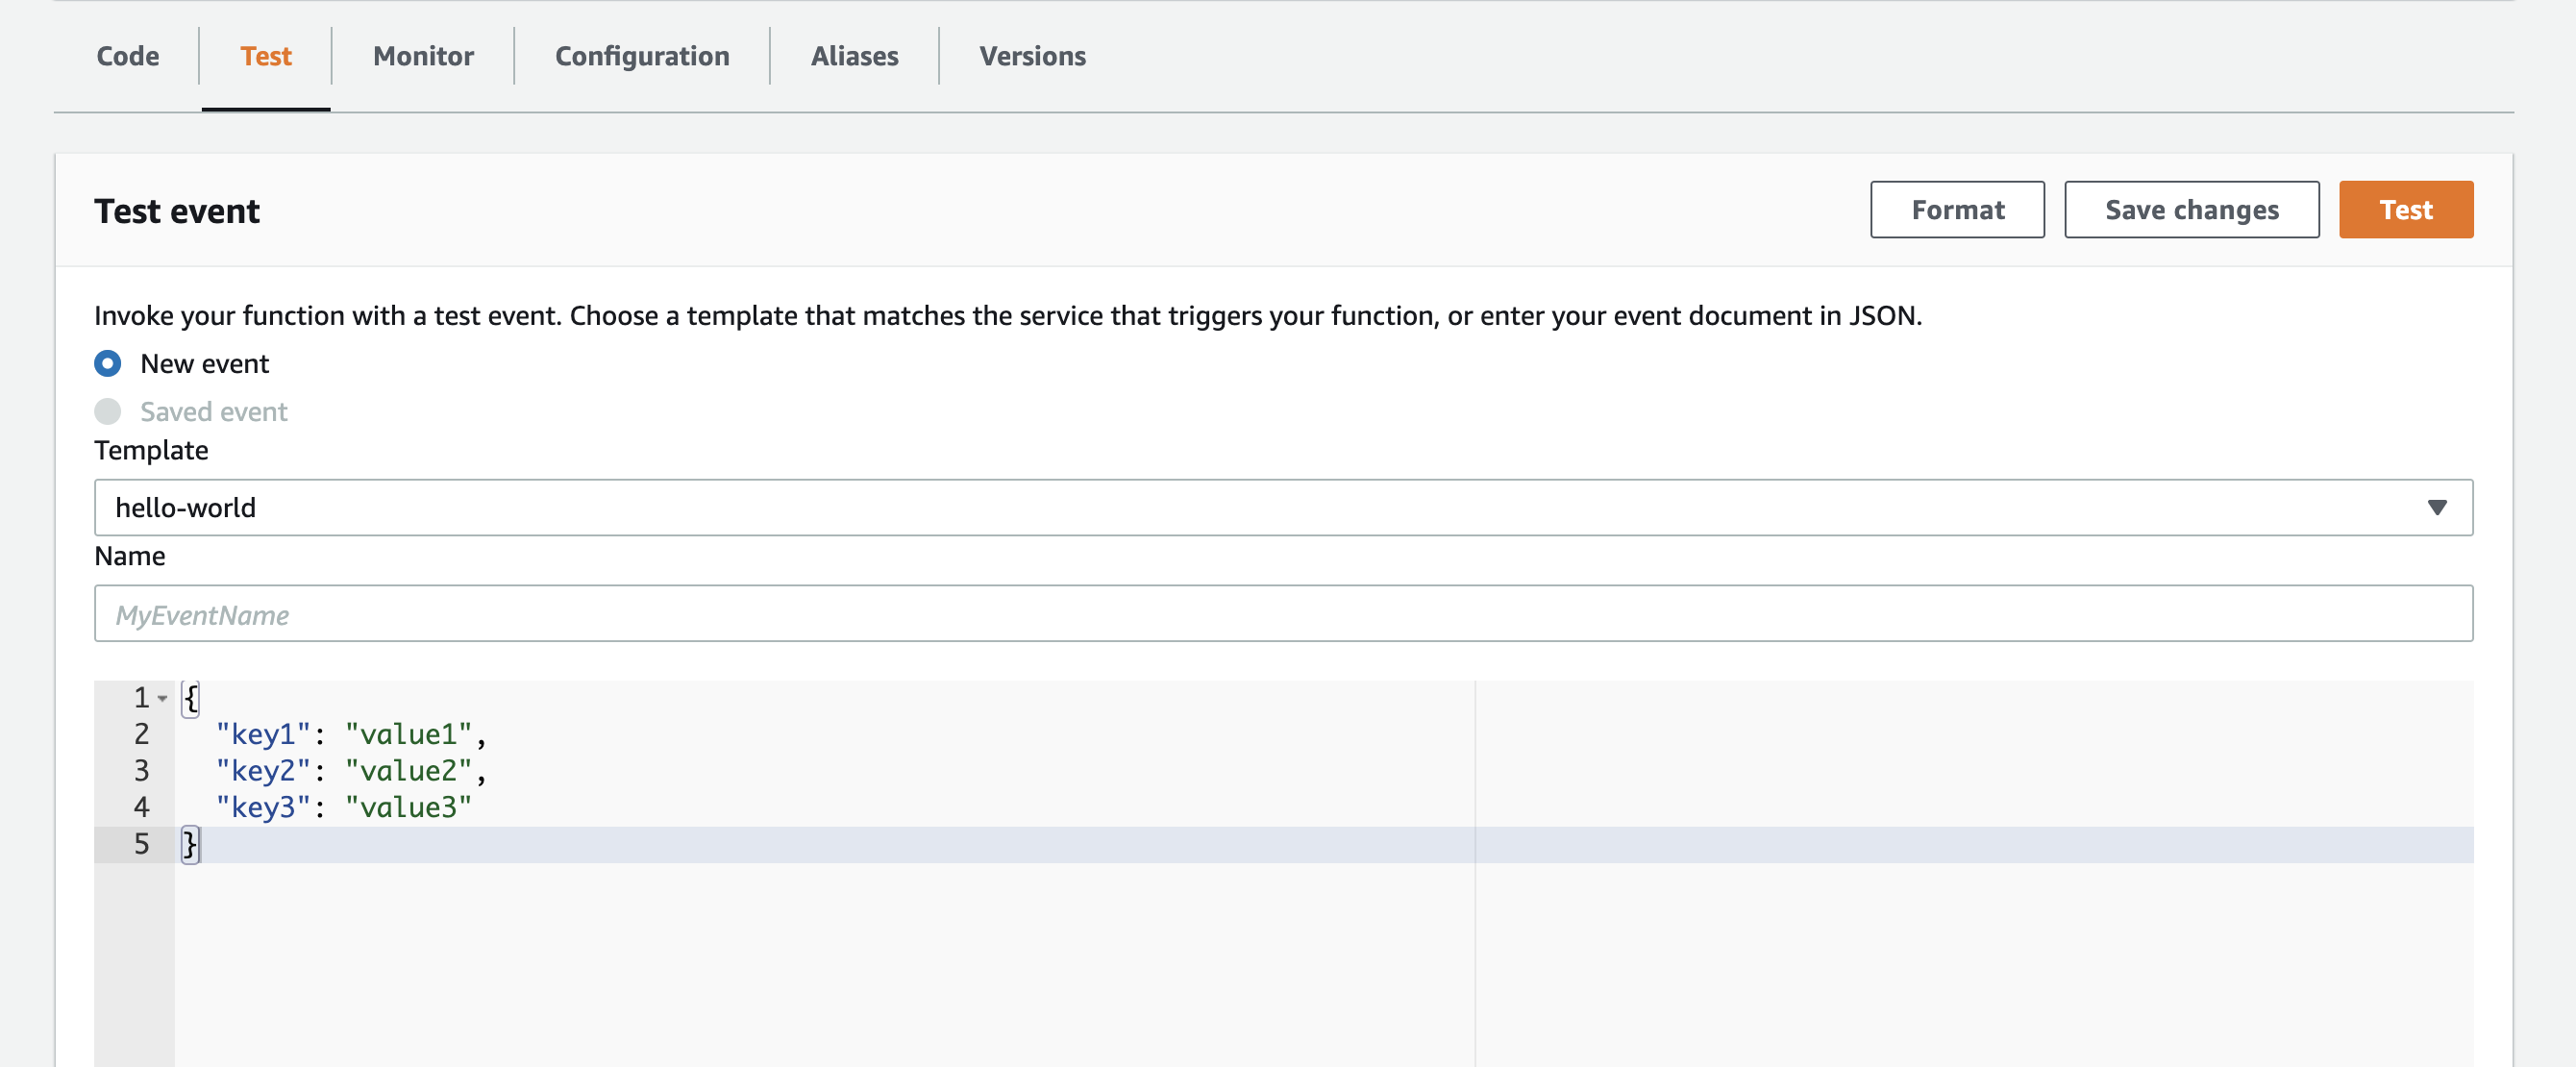
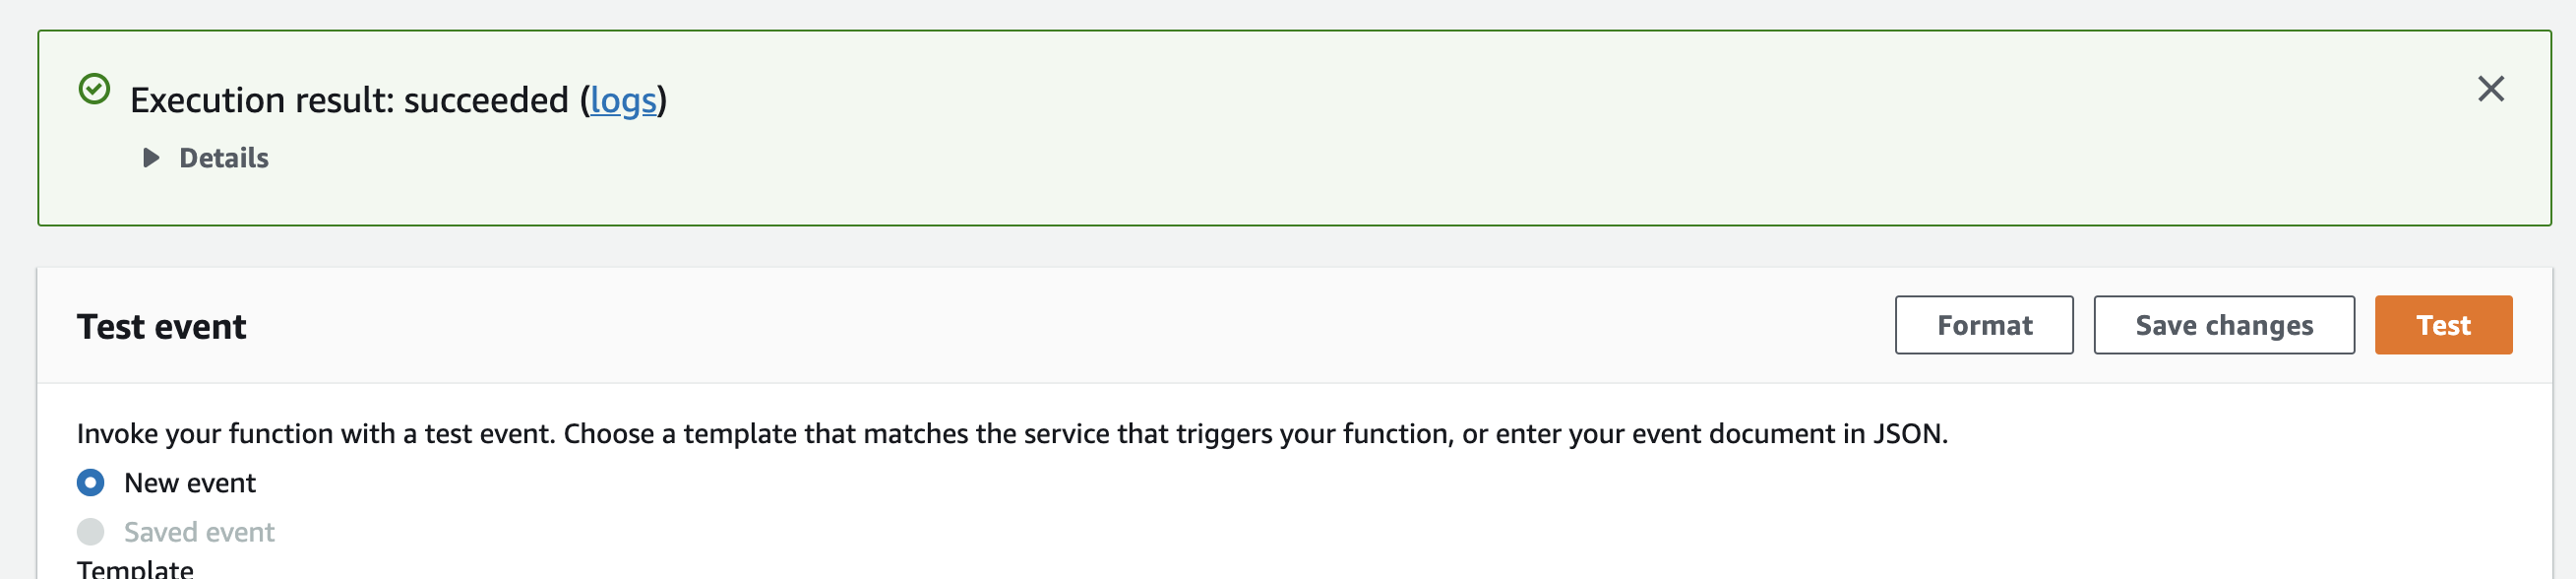
You can click on the Test button, since the payload of the event doesn't matter to us.
With that done, we can check out our logs.
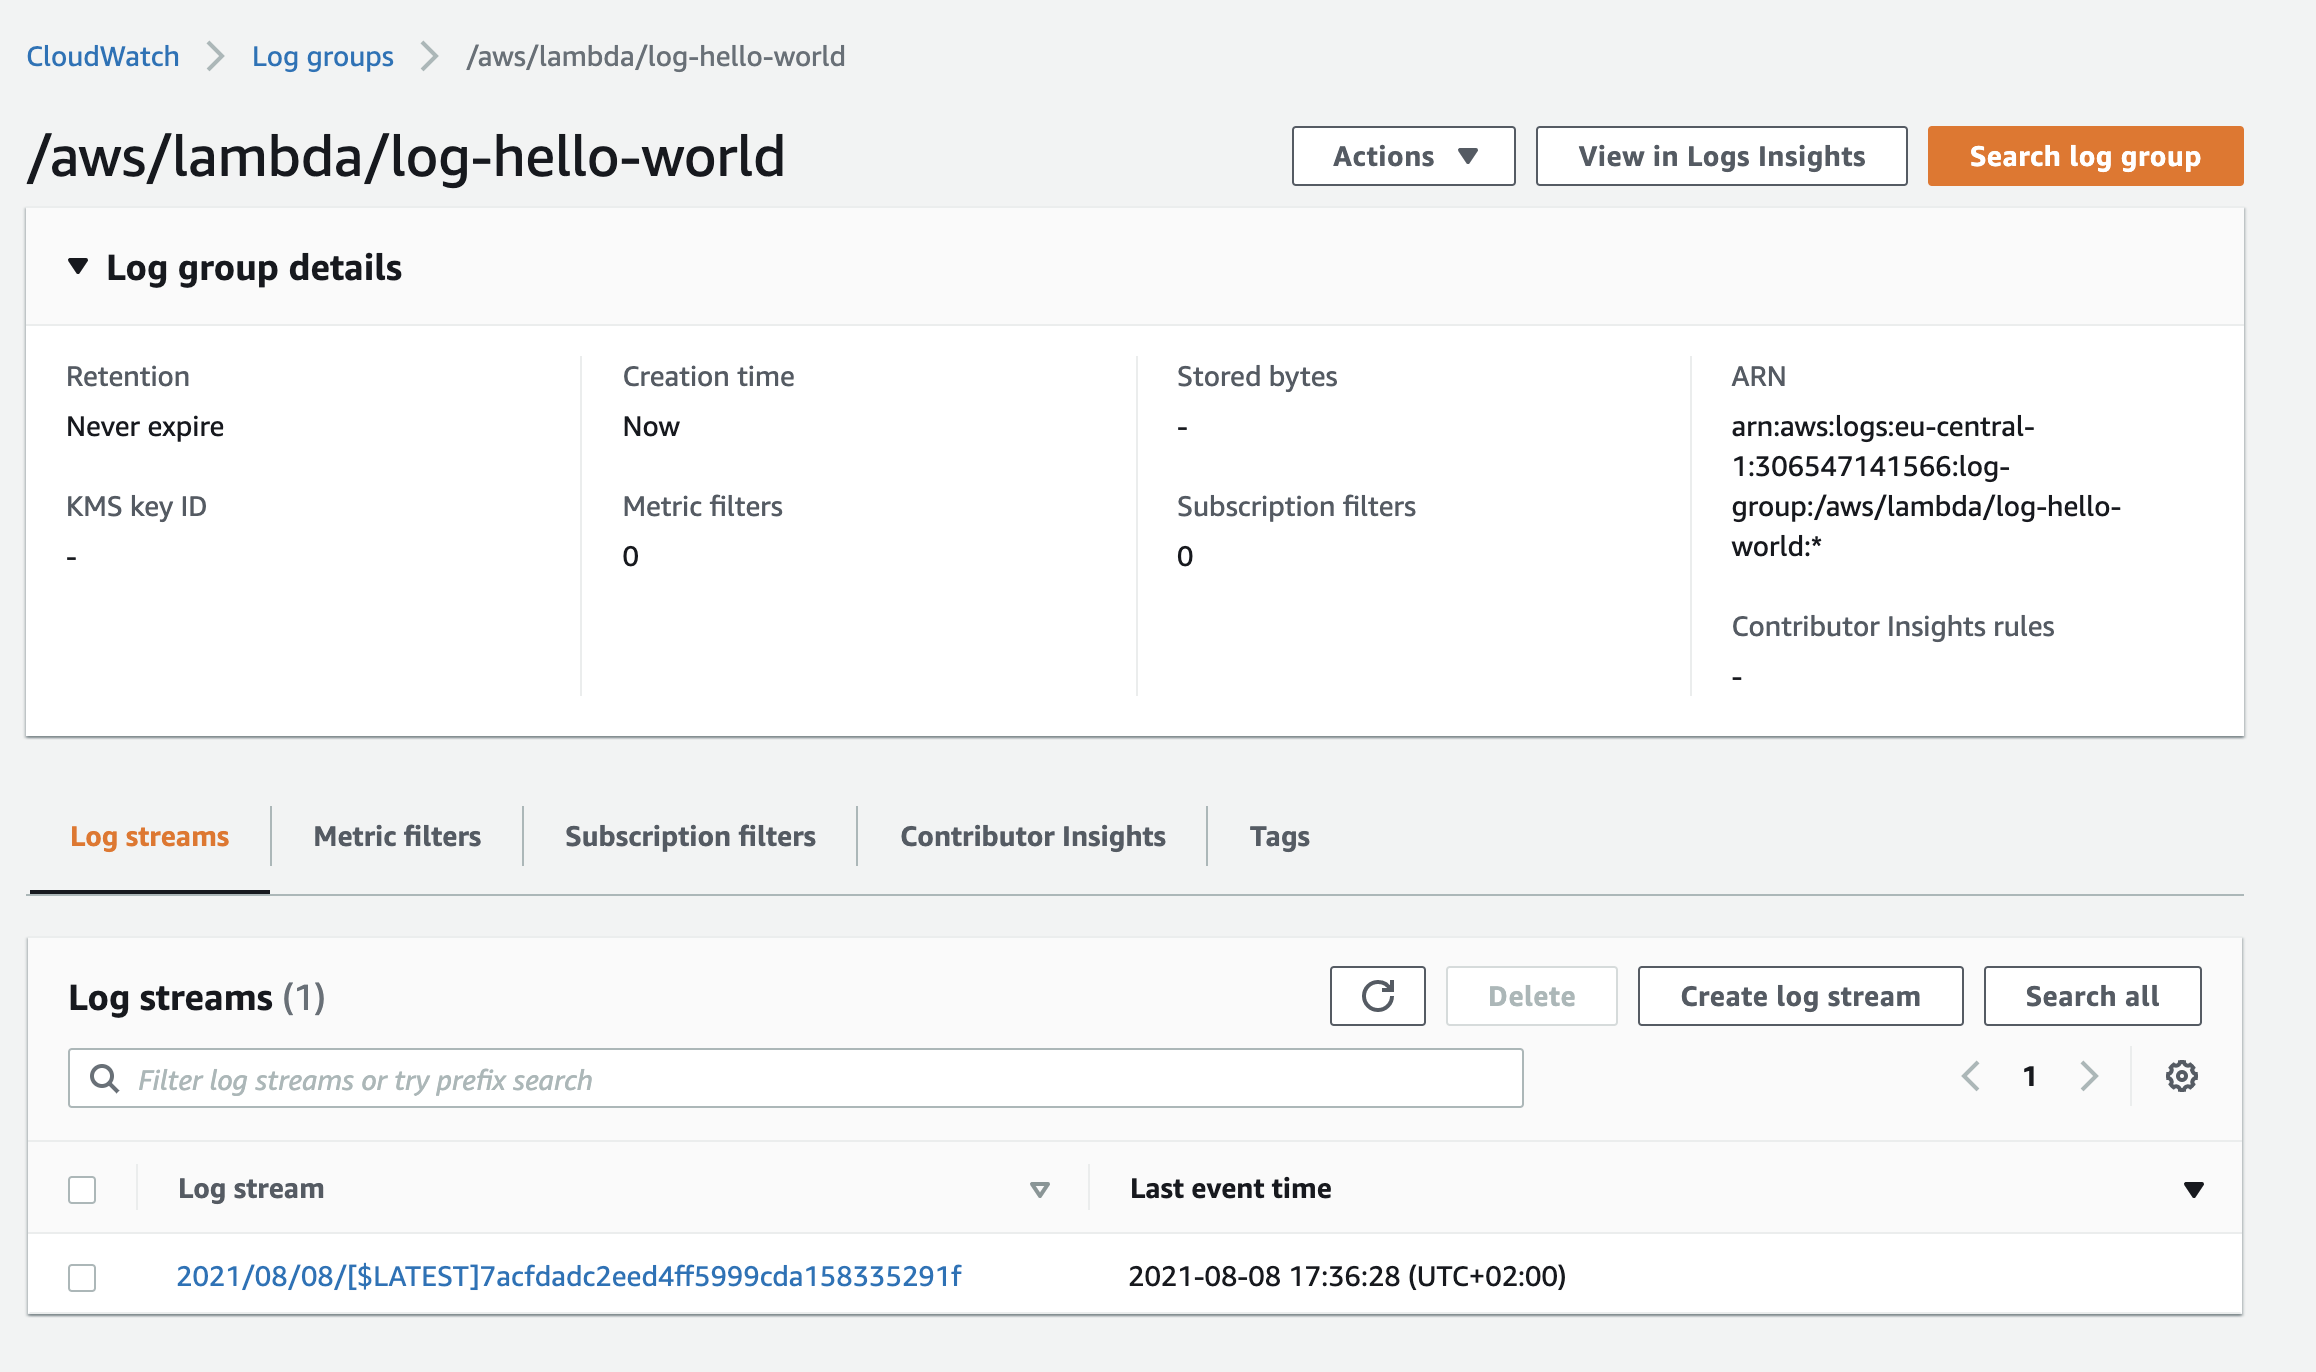
And there, we can see our message Hello World should be shown.
![Screen Shot 2021-08-08 at 5.36.56 PM.png] (https://cdn.hashnode.com/res/hashnode/image/upload/v1628437083759/pA6FxIzvx.png)
And that my friends, is how we create a lambda using the AWS CDK.
Now, let's delete all that shall we ?
run:
cdk destroy
That should remove all the resources that were created, mainly our lambda.
Important
This won't delete the log entry that you saw, if you want that done, you should do it manually.